White Cake
- 2 sticks (226 g) butter, room temp
- 2 c (426 g) sugar
- 5 egg whites, room temp
- 2 teaspoons vanilla
- 2 1/2 c (426 g) flour
- 4 tsp baking powder
- ½ tsp salt
- 1 1/2 c (355 ml) butter milk at room temperature
- Red and Yellow food coloring.
Preheat the oven to 350F degrees. Oil and line some 9″ cake pans(however many you have, I only have two so I reused them)
Sift together the flour, baking powder and salt. Set aside.
Cream the sugar and butter, then add the egg whites and add them a little at a time. Add the vanilla and mix until fully incorporated. Then, alternating between wet and dry, add the milk and flour mixture in two parts.
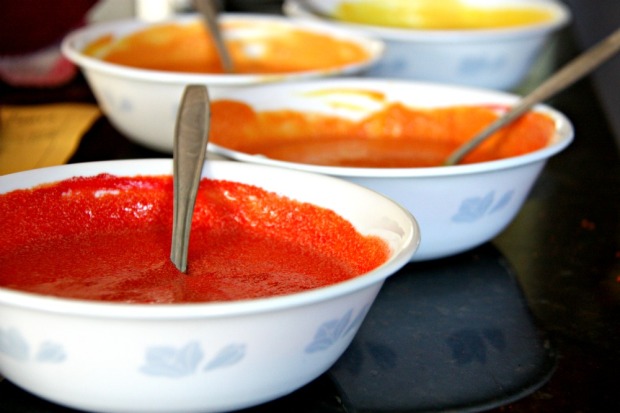
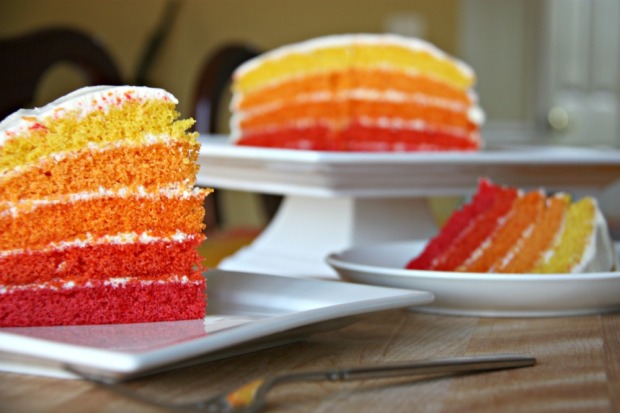
Divide the batter amongst 6 bowls, (i just used my one cup measuring cup, and divided it up among six bowls, but you can do it by weight as well, just make sure you weight the bowl you’re using before you put anything in it, and then weight it after you’re done preparing the batter, then subtract the weight of the bowl before from the weight of the bowl after, and then divide it by six and put that amount of batter into each bowl). Next add the food coloring, here are the ratios for it
1st bowl: add as many drops as red food coloring as you want until it looks vibrant enough to you.
2nd bowl: add and yellow food coloring, and keep it to a ratio of 2 red drops to every one red drop(so basically if you ad five yellow drops, then you have to add ten red drops, that way it makes it more of a reddish orange). Don’t start out with ten yellow drops then, have to put in twenty red drops, the mixture will probably be overwhelmed by red, and it won’t look too different from the plain red. Start out with about four yellow drops and add eight yellow drops, until it looks like an orange tinged red to you.
3rd bowl: add red and yellow food coloring in equal amounts to make a regular orange.
4th bowl: add red in yellow food coloring, in the reversed ratio thats in the 2nd bowl, so basically 1 red drop to two yellow drops, to make a lighter more yellowy orange.
5th bowl: add just yellow food coloring
6th bowl: just leave alone. it’ll be your white layer ( I made a white layer for my cake, however I just ate it plain instead of using it, because I ruined it because i forgot to line the pan before i put it into the oven.)
I’ve only given you the ratio for the colors because I did this entirely by how it looked to me, and if the color of the batter was vibrant enough, so, keep in mind, that whatever color you see in the batter is exactly the color it will be after it bakes, it won’t darken or lighten or anything.

When you remove them from the oven, let them rest on the cooling rack, in the pan, for ten minutes, then remove it from the pan, and cover it and put it in the fridge to cool quickly, and then frost them with whatever you like.
Tip for frosting: Do a crumb coat, since this is a extremely colorful cake, any stray crumbs from the cake will look really bad if it gets into the icing.
for those who don’t know: a crumb coat is a thin layer of icing that you put on the cake and let it dry so that a layer forms around the cake to prevent crumbs from straying into the whiteness of your icing.
Happy Mothers Day!
~dee


